


A software developer has just one major enemy, bugs. Those demons can be very hard to find and they are always a thorn in the flesh. These bugs can sometimes lead to crashes in the application that’s being built which is a very bad user experience and can lead to the user uninstalling your application or leaving a bad review on the play store (or app store).
No one wants that, but the truth is, you can’t catch every bug on your own, writing tests and using clean architecture can help prevent some of these bugs and errors, but when your app is shipped, hundreds of people use it on different devices and in different ways, anything can happen and it is very possible that a bug here and there would appear.
As a developer, you can choose to wait for the bad reviews and complaints before you search for the problem and fix it, or you can use a tool that’d help you “stalk” your app on every device and deliver crash reports to you directly. This is where Firebase Crashlytics comes in.
Firebase Crashlytics is a lightweight, realtime crash reporter that helps you track, prioritize, and fix stability issues that erode your app quality. Crashlytics save you troubleshooting time by intelligently grouping crashes and highlighting the circumstances that lead up to them.
Crashlytics organizes all crashes into an understandable list and provides detailed information about them, it highlights the severity and helps you to determine the cause of the crash faster, so you can fix it. It also provides crash insights and “cures for the common crash”. Firebase crashlytics can be integrated with analytics and it also provides real-time alerts for issues that require attention immediately.
Setting up crashlytics in your app:
Before adding crashlytics to an application, you must have added firebase to your project using this guide.
Now, we go to the firebase console, click on our project, and click on “Crashlytics” on the left side panel,
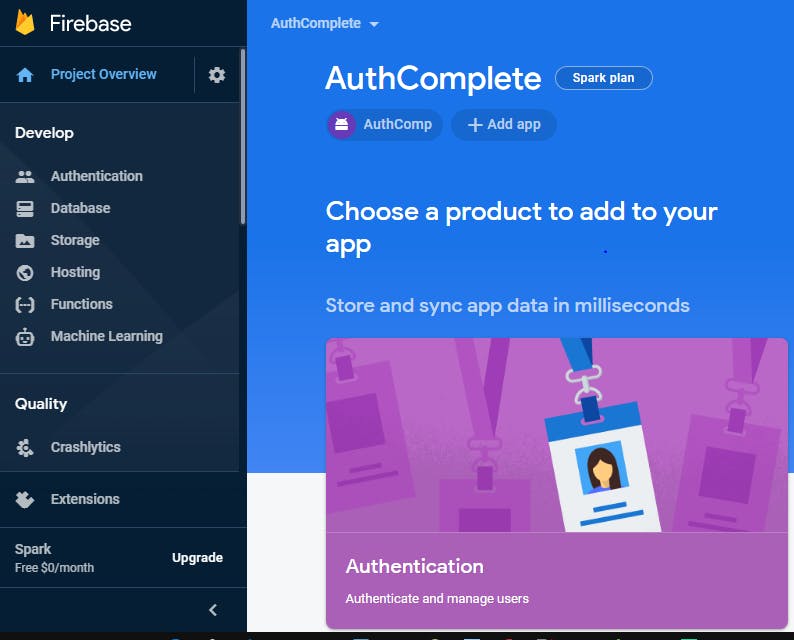 then we click on “Enable Crashlytics”
 Now, we go to our project-level build.gradle file and add the following buildscript dependencies:
buildscript {
    repositories {
        // Check that you have Google's Maven repository (if not, add it).
        google()
    }

    dependencies {
        // ...

        // Check that you have the Google Services Gradle plugin v4.3.2 or later
        // (if not, add it).
        classpath 'com.google.gms:google-services:4.3.3'

        // Add the Crashlytics Gradle plugin.
        classpath 'com.google.firebase:firebase-crashlytics-gradle:2.2.0'
    }
}

allprojects {
    repositories {
        // Check that you have Google's Maven repository (if not, add it).
        google()
    }
}
When that’s done, we go to our app-level build.gradle file and apply the crashlytics plugin like so:
apply plugin: 'com.android.application'

apply plugin: 'com.google.gms.google-services' // Google Services Gradle plugin

// Apply the Crashlytics Gradle plugin
apply plugin: 'com.google.firebase.crashlytics'
Now, we also add the following dependencies for analytics and crashlytics: For java,
dependencies {
    // Recommended: Add the Firebase SDK for Google Analytics.
    implementation 'com.google.firebase:firebase-analytics:x.x.x'

    // Add the Firebase Crashlytics SDK.
    implementation 'com.google.firebase:firebase-crashlytics:x..x.x'
}
for Kotlin+Ktx,
dependencies {
    // Recommended: Add the Firebase SDK for Google Analytics.
    implementation 'com.google.firebase:firebase-analytics-ktx:x.x.x'

    // Add the Firebase Crashlytics SDK.
    implementation 'com.google.firebase:firebase-crashlytics:x.x.x'
}
where “x.x.x” is the current version number.
Now we can build our project and run it. To test if we set up crashlytics correctly, we can fake a crash by adding a button to our layout and adding the following code in the onClick method of the button:
throw new RuntimeException("Test Crash"); // Force a crash
for Kotlin,
throw RuntimeException("Test Crash") // Force a crash.
This would crash our app, and then we can restart the application and check your firebase console for the crash report, which should appear in a few minutes.
There’s a lot more you can do with crashlytics, like customized crash reports, log messages, reporting non-fatal exceptions, and whatnot. All these are useful, especially when you’re building a very large scale application with a huge target market. You can learn a lot more about crashlytics from the docs and proceed to add this helpful tool in all your projects.
I hope you enjoyed the article, leave a like, and comment if you have any questions. Ciao! 👋